Ostathi Updates
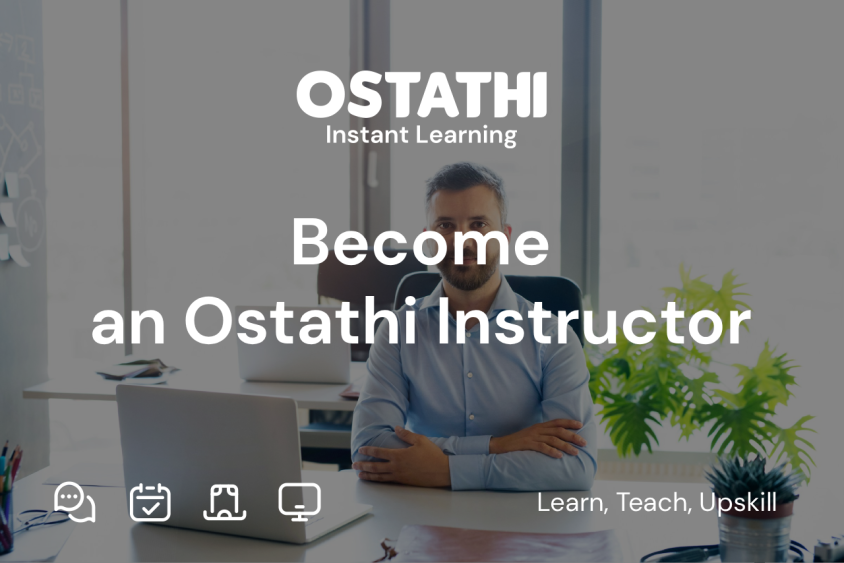
How to Register as an Instructor on Ostathi: Step-by-Step Guide
Sep 15, 2025
|
0
Are you a tutor or trainer looking for a professional and flexible way to connect with learners across Jordan and beyond?
Ostathi — developed by UniHouse and backed by Microsoft for Startups — is the leading online platform that lets you teach academic subjects or professional skills with full control over your schedule and rates.
This guide shows you, step by step, how to register as an instructor and start teaching online with confidence.
Who Can Register?
Ostathi welcomes two types of instructors:
- Tutors: Academic specialists (Math, Science, English, Arabic, Physics, Chemistry, Tawjihi, IGCSE, IB, SAT, AP, etc.).
- Trainers: Professionals in skills & careers (Business, IT, Digital Marketing, Languages, Health, Leadership, and more).
Step-by-Step Registration Process
Watch: How to Register as an Instructor on Ostathi
Prefer a quick walkthrough? Watch this short step-by-step tutorial: Watch on YouTube
Step 1 — Go to the Ostathi Website
Visit jo.ostathi.com and click "Become an Instructor”.
Step 2 — Sign Up
Create an account using your email and password (or sign in with Google), then confirm your email via the link sent to your inbox.
Step 3 — Build Your Instructor Profile
- Your profile is your digital CV. Make it professional:
- Upload a clear, professional photo.
- Write a short bio describing who you are and your teaching style.
- Add qualifications, certificates, and experience.
Choose whether you are registering as a Tutor or a Trainer. (For now, managing both requires separate accounts. A unified profile is planned.)
Step 4 — Choose Subjects/Skills & Set Rates
Select what you teach (e.g., "Grade 10 Math”, "IELTS Prep”, "Python for Beginners”) and set your hourly or session rate — you’re in control.
Step 5 — Verify Your Credentials
Upload your certificates and any relevant documents. The Ostathi team reviews and verifies profiles to ensure quality and safety for learners.
Step 6 — Set Your Availability
Add the days and times you can teach. Learners will book directly from your open slots.
Step 7 — Start Teaching Online
Once approved, your profile goes live. Deliver lessons using Ostathi’s built-in Microsoft-powered classroom with tools like:
- Virtual whiteboard
- File sharing
- Screen sharing
- Instant translation
- Lesson recording
Payments & Earnings
- No subscription fees — a small service fee applies per booking.
- Earnings are credited to your Ostathi Wallet with guaranteed payments.
- You can withdraw via CliQ.
Tips for a Strong Profile
- Use a professional photo.
- Write a clear and engaging bio.
- Highlight niche strengths (exam strategies, bilingual teaching, interactive lessons).
- Upload all relevant certificates.
- Keep your calendar updated.
Why Teach on Ostathi?
- Microsoft-backed credibility.
- Secure payments guaranteed.
- Marketing handled by Ostathi — you just focus on teaching.
- Lesson recordings for safety and quality monitoring.
- Access to a wide learner base in Jordan and beyond.
Registering as an instructor on Ostathi is simple, fast, and rewarding. Whether you are an academic tutor or a professional trainer, Ostathi provides everything you need to succeed in online teaching.
Ready to start your journey?
Click here to Become an Instructor on Ostathi.


